Step by Step Excel 2016 Tutorial
These are my notes on a step by step Excel 20126 tutorial.
This is my Step by Step Excel 2016 Tutorial. Excel 2016 is new and it can be confusing. I was told this recently and I totally agree with that statement. It looks and feels different than the previous versions.
If you have always been a little afraid or unsure of how to use Microsoft Excel well, I wrote this step by step Excel 2016 tutorial just for you! After reading this and going through my examples I promise you will have a much better grasp on how to use Excel spreadsheets.
Step by Step Excel 2016 Tutorial
The new look of Excel 2016 has clean and crisp lines in its user interface and this is a good change.
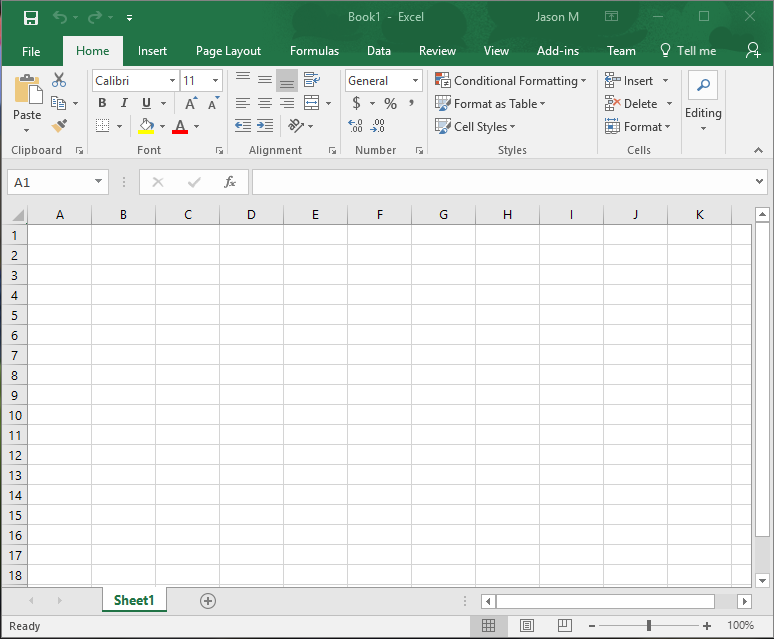
Let us now look at a blank page. A spreadsheet is made up of rows and columns and the little boxes where a row and a column meet are called cells. The rows are numbered numerically and the columns are labeled with capital letters of the alphabet.
A particular cell could be named B8 for example and that will refer to that one cell. The cell is where you enter your information and it can contain numbers, text, dates, and formulas.
Numbers
Excel spreadsheets mainly work with numbers and they are the core of what you will do. You can do basic math and logic within these cells. Then formulas to provide more functionality are just a step away.
Text
Text is mainly used to describe your data and can be entered in cells just like numbers. It is important to use descriptive text so that all of your data is well documented.
Dates
Dates are an important part of all our lives and so it is here with Excel 2016. Serial numbers are the values of certain days and times. These can be used to be very precise. However, it is much easier to just our standard dates because they work just fine too. I just wanted to mention that you can use serial numbers if you need to.
Ranges
At first you will just work with a single cell at a time but after your spreadsheet gets large you need to work with ranges. A range of cells is several at a time. You can either use a mouse to select many cells or type in the cells you want. To type in a range of cells you do this:
- =b3/b9
This first one will do basic division with those two cells. You can also include many cells with even less trouble like the second example.
Let's just add b3-b9. To do that we just do this:
- =Sum(b3:b9)
I use a colon between the opposite ends of the cells that I want to do the calculation on. It is much nicer than typing everything in between and making mistakes.
Autofill Ranges
Filling a range of cells with a pattern of data is easy and quick to do. Enter two or more cells next to each other and select them which will establish the numerical pattern for Excel 2016. Move your cursor to the right corner and drag to expand the selection so that it covers the range of cells that you need. Excel will autofill according to the pattern you first initiated.
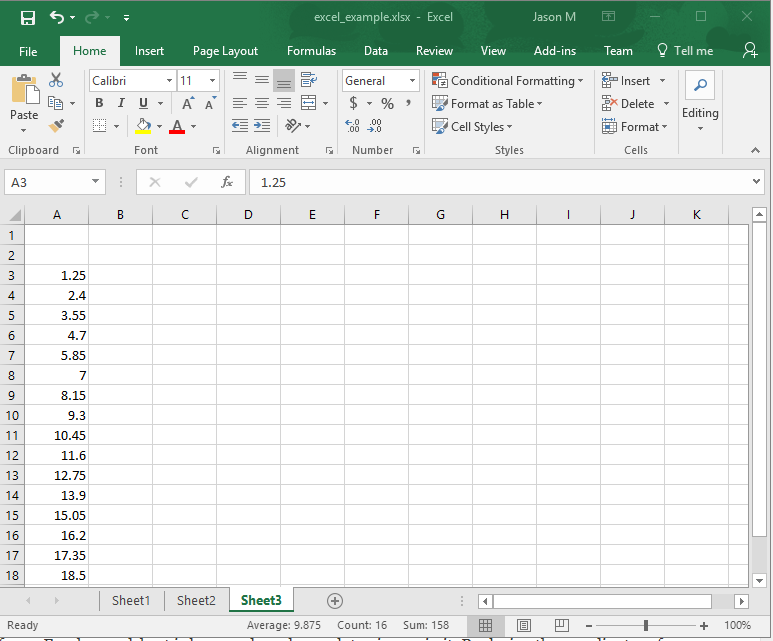
I filled in the first two cells which were a3 and a4. Then I highlighted them and clicked at bottom to fill as many cells as I wanted. You can see the numerical pattern was kept.
Cut and Paste Ranges
Cutting and pasting works just the same as most Microsoft Office products so take advantage of that to make yourself more productive. Use this feature to move or modify a range of cells quickly.
Naming Ranges
You can name any particular range so it will make more sense to you. This is very handy if your Excel spreadsheet is large and you have a lot going on in it. Replacing the coordinates of a range with something custom that means something to you makes a lot more sense. Name your range by using the naming box next to the address box at the top.
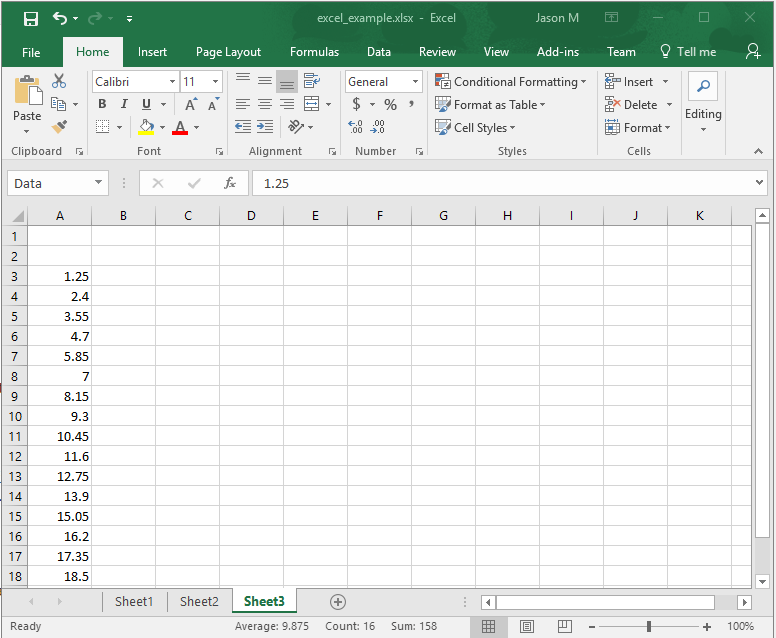
You can see that I named that small range of numbers that I autofilled earlier. I can use that instead of the coordinates now and that is very nice!
Formatting A Range
Formatting should be a priority if others will be looking at your data. Any formula or data can have different fonts, alignments, and formats. There are several ways to format your data and their usefulness depends on your situation. There are several types of formats and they are:
- Number
- Currency
- Accounting
- Percentage
- Fraction
- Scientific
The best way to format any cell is to lead with the symbol and type of formatting that you want.
Applying A Specific Format
Excel 2016 does a really good job of figuring out the kind of format that you meant but if you want to do it manually that is an option too. Select the cell or multiple cells that you want to format and then make sure the Home tab is selected. Click the format list button and it will show you the possibilities. Then just choose the format that you want.
Adding Borders
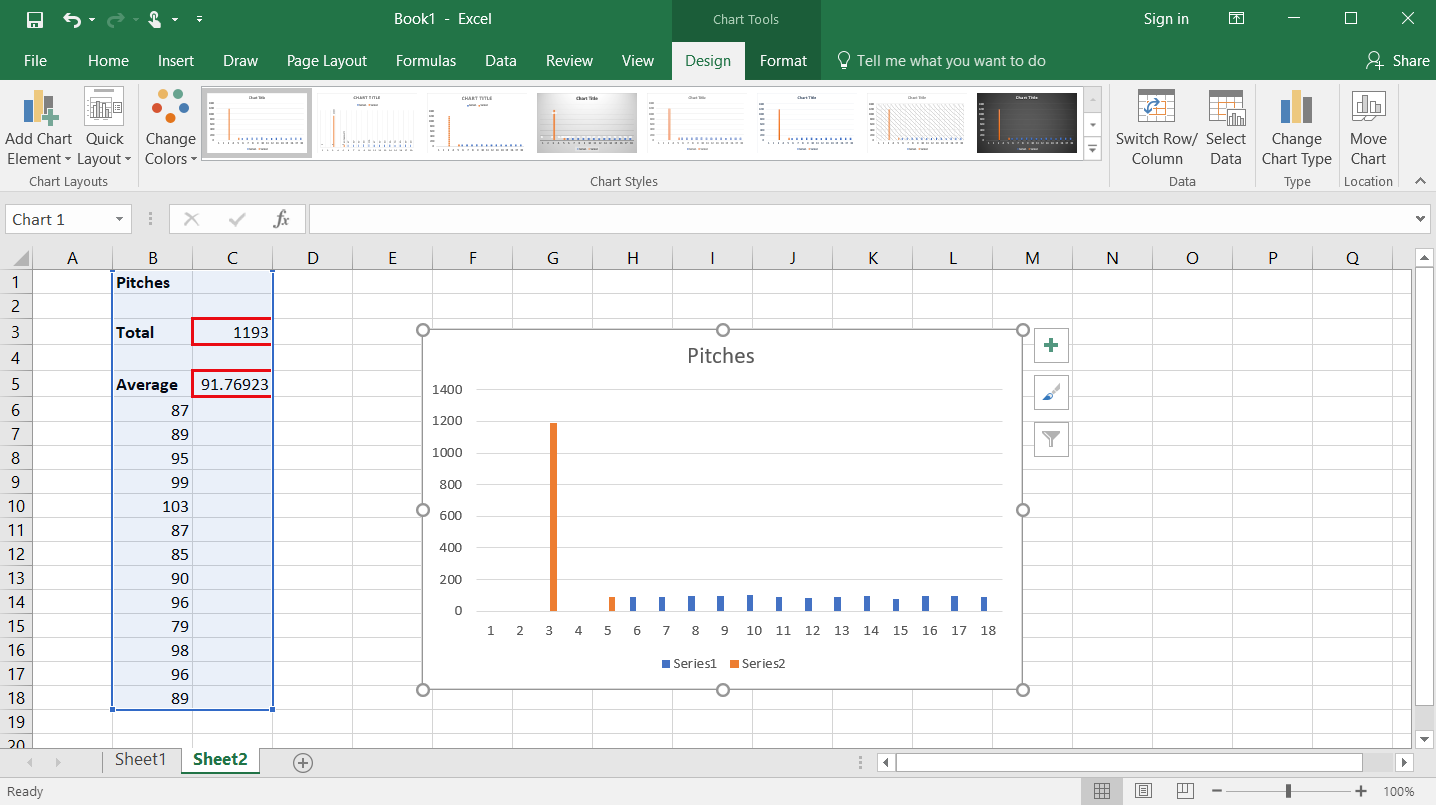
Highlighting certain portions of your data can really make it stand out. Making a total stand out is a very good way to make it clear to whoever reads your spreadsheet. To add a border around your data just select the Home tab, select Borders, and then choose the type that you like.
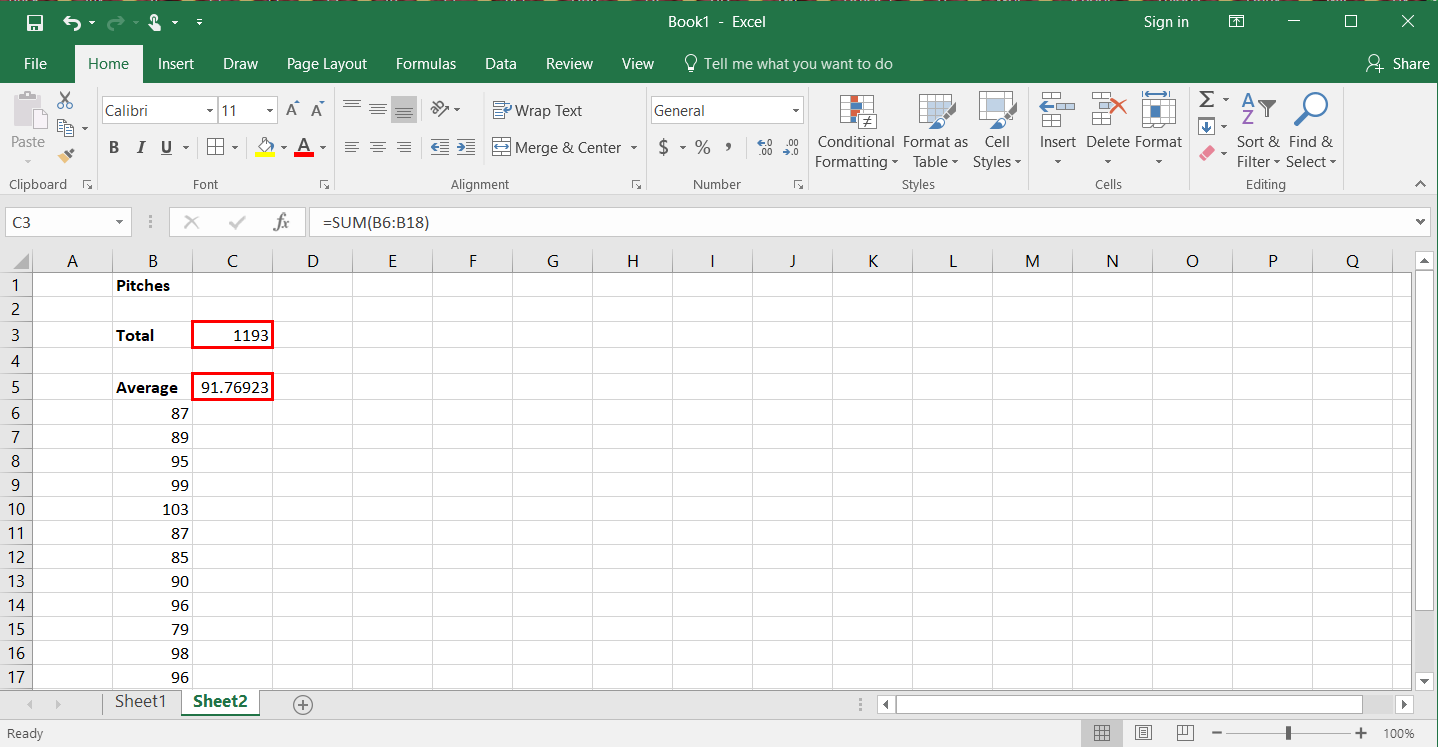
I like my baseball data clear and succinct. I added red borders around the total pitches cell and the average pitches per game cell. You can make the lines thick or thin and add color if you want to like me.
If you have trouble finding the Border option, it is the small 4-square box below the font size at the top of your ribbon.
Formulas
To make any set of data useful then you need to do something with it. This is the purpose of formulas. Formulas give meaning to your data and can display it so its easy to read at any given moment. There are two main types that you will use and they are arithmetic and comparison formulas.
Arithmetic does exactly what you would think it does and its most basic forms are what you learned in grade school. You can add, subtract,divide, multiply, and use exponents. Comparison formulas use logic operators to compare numbers and cells. They will give a true or false value back and you can use that to do more tasks in your spreadsheet.
Making Formulas
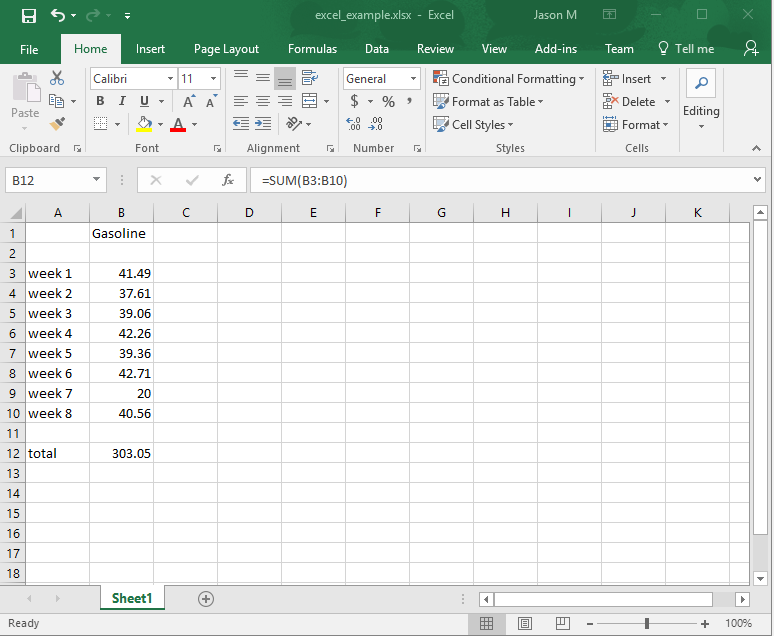
Making a formula is easy and you just select a cell and enter your information. You start Excel formulas with an [=] sign and then you just edit the cell. Enter values or cell ranges in your formula to perform the calculation that you want.

This is process is elementary but I want to cover everything reasonable. My Excel spreadsheet shows prices I paid for gasoline recently and I added them up. I clicked the cells below my last input and typed out my formula. The formula is listed at the top of but below the ribbon. It is pretty hard to miss.
You can also just click the cells that is in your input range. The process is to click your first cell, add an operator, then click the next cell. This can be a faster way to do calculations.
Functions
Using functions in Excel 2016 makes a lot of sense and reduces errors in your tasks. Functions are what you learned in math class and include numerical inputs that give you some output. It makes a lot of sense to utilize them because they reduce very complex calculations to an easy calculation.
Adding a function to a cell is simple and easy. It requires you to click a cell and type it out and then enter its arguments.
The Sum Function
This is the easiest and most used function in Excel. It does what it implies which adds numbers or a range of cells together. I made labels for my gas prices and used the Sum function to add my cells together. You can see the format of the function in the top bar.
- =Sum(1,5)
- =Sum(b3:b10)
Those are two quick examples of how to use the Sum function and what your syntax will look like.
The Max Function
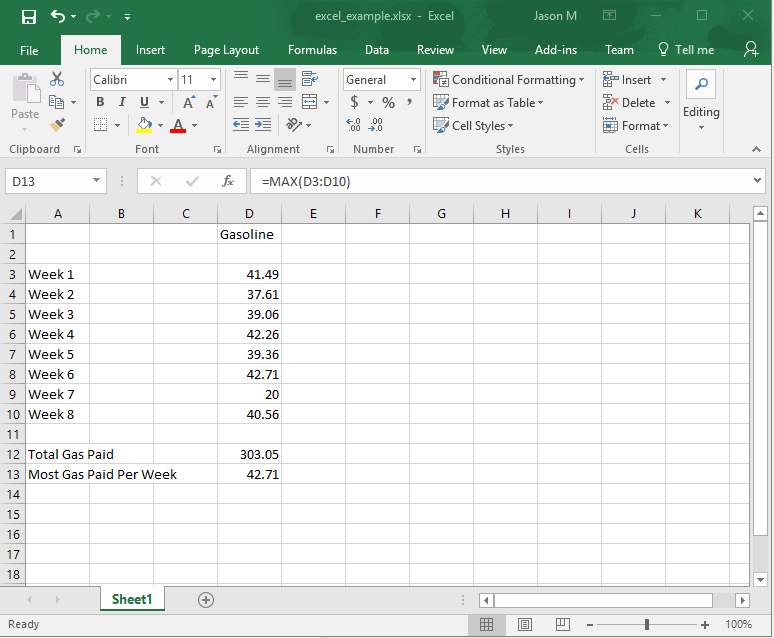
This is another very useful function and it is easy to use. It will look at and pick out the largest number in a range of cells. It looks like:
- =Max(d3:d10)
It compares the values in those cells and displays the value where you choose.
The Min Function
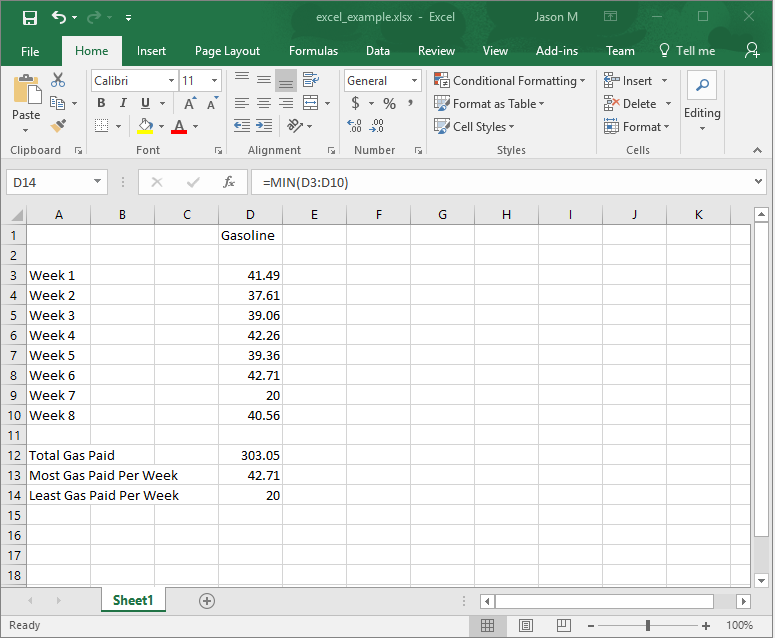
The Min function does the exact opposite. It is very intuitive and easy to use. It looks like:
- =Min(d3:d10)
That is all there is to it and it is very useful.
Tables
Excel Tables are a very common feature and using them can be a great idea if your data needs it. A Table has the features of a database but it is more visual for the user. An Excel Table is made up of :
- Field
- Value
- Name
- Record
A Field is a single piece of information such as a name and the columns are all Fields. The Field Values are the data and they are the cells in a spreadsheet. A Field Name is your column designation and always at the top of your spreadsheet. The Records are related pieces of information and they are the rows that you see in a spreadsheet.
Creating A Table
Creating a table in Excel 2016 is easy. Highlight the information that you have entered in and hit [Control-T]. Make sure and check the box if you have headers and hit [enter].
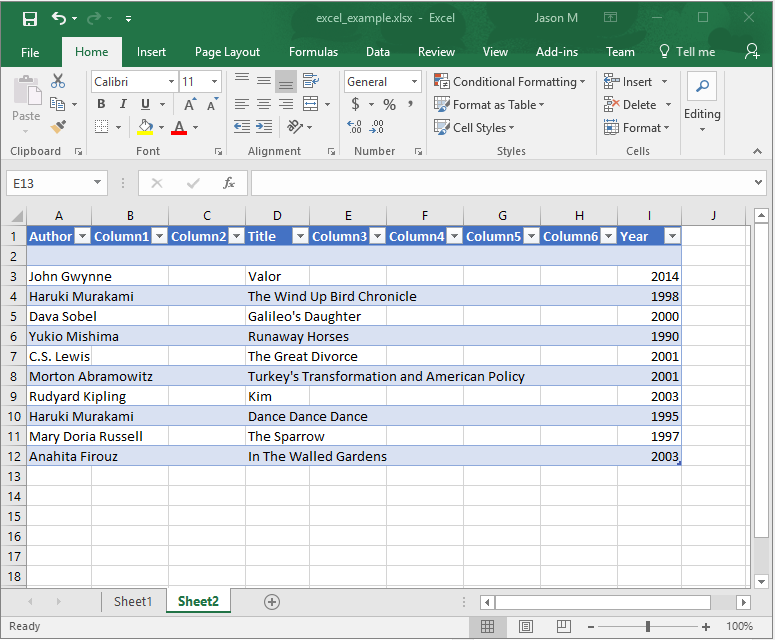
You can see my book information I entered in is highlighted and it appears to be a nice table. The data in your own spreadsheet should be the same. Working with different elements of your Table is easy because you just have to highlight them. You can format sections of your Table and make it look pretty.
I prefer a little color but nothing crazy. I went with the dark blue design because it fits my tastes. There are many other options to choose from and I am sure you will find something that you like quickly.
- Highlight your table
- Choose the Design Tab
- Select Quick Styles
- Use mouse to get preview of each style
- Then hit [Enter] once you found something
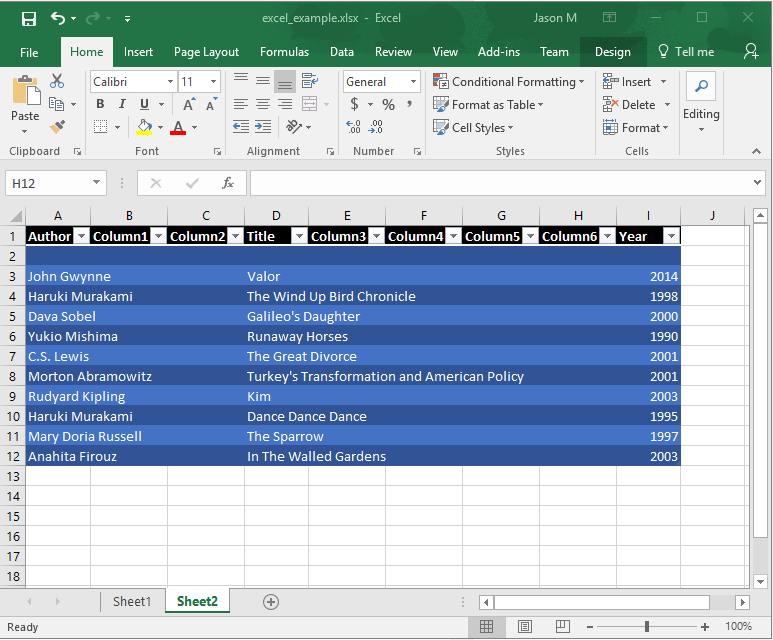
That is what my Table looks like and it will work nicely.
Why Use Tables?
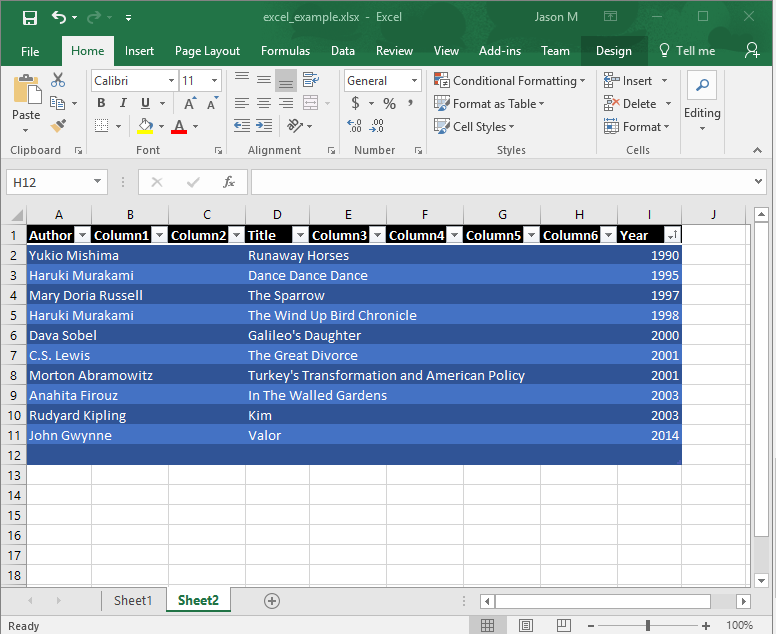
We have this nice Table that is colorful and looks good. Why go to this trouble? The point of Tables is to organize your data. At the top of your Table you will see little arrows by your column headings. You can click one of those and select how to sort the information in your Excel Table.
I can do this and either sort my authors or title by alphabetical order. Sorting by the date of each book is also easy. I chose to sort my table by the year.
Charts
Charts of your data are pretty and really help to get your point across. It is always a good idea to use them if anyone else is going to look at your data reports. I will create an embedded chart for my examples because it is easy.
Creating a chart is easy and all you have to do is highlight your data and labels. Then select the Insert tab on the ribbon and you can see all the different chart designs that are available. Click one of them and see how it represents your data.
You can give it a nice title and customize it further once you have it inserted into your Excel spreadsheet.
Types of Charts
There are many types of charts that you can choose from. The chart you choose will depend on your data and what you want to say with it. Here is a partial list of the most useful (in my opinion) charts that you can choose from:
- Area
- Bar
- Bubble
- Box
- Column
- Pie
- Line
- Radar
- Waterfall
Changing Your Chart
You can always change your Excel chart if you need to. The data you have might not be visual enough with your current chart and if that is the case there are many options left for you. To change your chart type just select the Design tab on the ribbon.
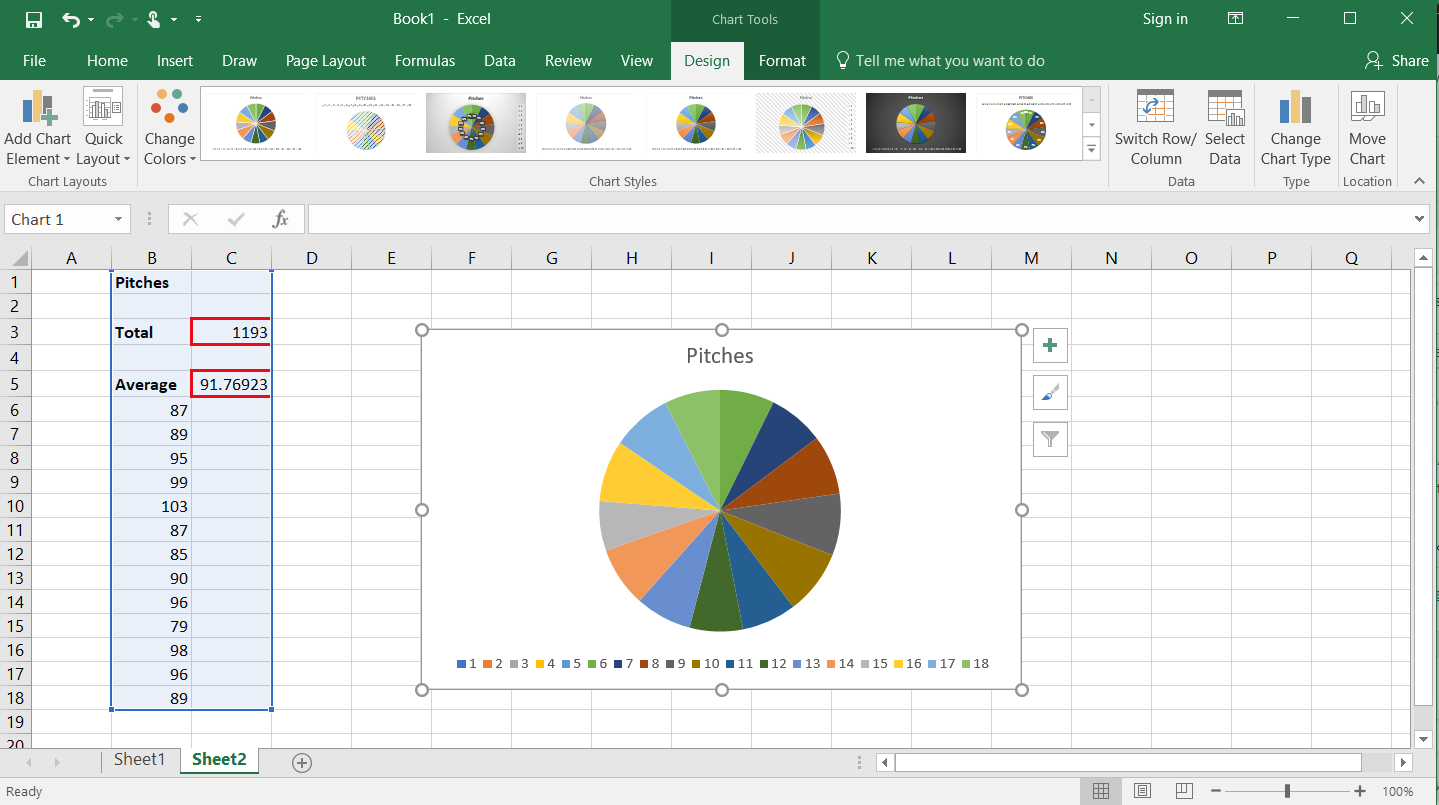
This is the same spreadsheet that has the same data.
Chart Elements
The chart elements in your spreadsheet refer to the items that make up your chart. These can be changed as needed and it is easy to do. To change the elements of your chart just select your chart,select the Format tab, then choose the elements list at the top left of the ribbon.
Conclusion
Excel 2016 can often be confusing with its new look. Not only are many things moved but it also does a lot more too. Looking very different just adds to the problem if your just starting out with it.
There is no need to worry too much though because if you read this then you should be able to do basic tasks at least.
If you are in an office setting and you still need more information make sure and leave me a comment with your question. I would be happy to help if I am able to.
If you like this guide, step by step Excel 2016 tutorial, then you also might like other guides in this category which are: 11 Clever Tips for Word 2016 and 15 Actionable Tips for Outlook 2016
http://aindien.com/11-clever-tips-for-word-2016/
and
http://aindien.com/tips-for-outlook-2016/
If you enjoyed this article I would ask that you hit the subscribe button on the sidebar of any page. Doing so will get more posts just like these sent to your email and it will help me.